
Cloud Raxak, Inc. Confidential
1484 Pollard Rd #363, Los Gatos, CA 95032. USA https://www.cloudraxak.com

Getting Started:
Prerequisites and Setup for Server Resources
A checklist for preparing your environment to use the Cloud Raxak portals

Introduction
We are pleased to welcome you as a new user! We are dedicated to providing you with easy and comprehensive security configuration for your IT resources.
This guide provides a short checklist to make sure your environment is ready for using the Cloud Raxak portals.
The Cloud Raxak’s portals (e.g., Raxak Protect, Raxak Manage, etc.) are used to define and apply a security posture to your company’s IT resources.


Last updated: February 2023 (for Version 4.4+ of the Cloud Raxak portals)
1 Audience
This guide is intended for Cloud Raxak customers setting up their IT environment to use the Cloud Raxak portals.
Note that almost all the prerequisites and setup requirements are identical whether you use our cloud based solution[1] or an on-premise appliance in your own environment. Wherever there are differences, we have indicated that in the details below.
2 Prerequisites
You’ll need to ensure that the resources (servers or VMs) you enroll into Raxak Protect have operating systems (OS’s) that are supported by Cloud Raxak. As of the date of this document, we support the following OS flavors:
Operating System Type | Version Numbers |
CentOS | 6.0 to 9.3 |
Red Hat Enterprise Linux | 6.0 to 9.3 |
Ubuntu | 16.04 to 22.04 (beta) |
Amazon Linux (AMI) | 2017, 2018 & Amazon Linux 2 AMI |
SUSE | 12, 15 |
Windows Server (Workgroup and Member Servers only) | 2012 Std, 2012 R2, 2016, 2019, 2022 (beta) (requirement: Must have PowerShell Version 4+ and DSC which is available in WMF Version 4+) |
Updated: August 2022 Release 4.4.0 |
As part of enrolling Linux resources, Python version 2.7 or above is required to be installed on the resource (Python 3.x is preferred). In addition, either wget or curl should be installed on each resource being enrolled.

3 Setup
The diagram below shows the connections used to communicate between the Cloud Raxak SaaS service and your IT resources. Note that this connectivity works regardless of whether you are connecting to a Cloud Raxak service in the cloud, or to a Raxak Protect appliance in your own environment. Without loss of generality we will refer to this end point as Raxak Protect or the Raxak Protect Appliance.

The required settings on each resource are summarized in the table below:
Linux Resources | Windows Resources | Comments | |
Outbound Connections | Port 443 (HTTPS) | Port 443 (HTTPS) | Set in any host based firewalls or in network firewalls. See note about proxy settings below |
Inbound Connections | Port 22 (SSH) Can be changed per local policy | Port 5986 (WinRM) Can be changed per local policy | Set in any host based firewalls and in network firewalls. See note about security group settings on public clouds below |
Console access | Console access needs Port 443 access | See note about proxy settings below | |
In order to set up your IT environment to use the Cloud Raxak portals, please ensure that the following conditions are met:
- To connect to the appliance console
- Raxak Protect must be accessible on Port 443 (https connection)
- Raxak Protect appliances supports TLS 1.2 with the following ciphers:
ECDHE-RSA-AES256-GCM-SHA512, DHE-RSA-AES256-GCM-SHA512, ECDHE-RSA-AES256-GCM-SHA384, DHE-RSA-AES256-GCM-SHA384, ECDHE-RSA-AES256-SHA384
Some older Windows or Linux servers may not have been updated to use one of these ciphers and may cause connection issues that must be resolved before Raxak Protect can be used. Protocols earlier than TLS 1.2 are depreciated.
- For enrollment purposes
- Resources being enrolled need Port 443 (https) access to Raxak Protect
- Raxak Protect needs SSH Port 22 access to the Linux resources and Port 5986 WinRM access to the Windows resources. We recommend using Ports 22 and 5986 access, but can handle any port that is in use based on local policy.
- Your resources must have an IP address that Raxak Protect can reach (with the ports shown above) in order to perform security configurations.
- The correct IP address of the resource must be detectable by the appliance.
- There must be no NAT or firewall between Raxak Protect and the resources to be enrolled that changes the IP address in random ways. NATs that provide a fixed one-to-one address mapping are acceptable. Raxak Protect must be able to detect the IP address of the resource being enrolled, and the resource being enrolled must be able to connect to Raxak Protect using its IP of FQDN.
- If your environment requires the use of a https proxy to connect to the Raxak Protect appliance, this must be set correctly depending on your operating system.
- For Linux systems, the proxy must be configured in the /etc/wgetrc file, and usually consists of a line of the form
https_proxy = http://[username:password@]<fqdn-or-ip>:<port>/
- For Windows systems, the proxy must be configured based on your local environment. Please consult your IT support teams to determine how to do this since every environment is different.
One or more fields such as username or password may not be required in your environment.
- If your resources are on any public cloud (for example, AWS or Azure), you will have to set security groups in a way that allows inbound and outbound connections from the Raxak Protect Appliance. The mechanism for managing these security groups (essentially a firewall) differ. On AWS, for example, you set the inbound and outbound rules to permit connections to work. We recommend setting inbound rules to allow connections on port 22 (Linux) or port 5986 (Windows) from the Raxak Protect Appliance’s public IP address (for example, 52.53.166.52 for the https://crprotect.cloudraxak.net SaaS service endpoint) and allow outbound connections on port 443 to all IP addresses.
- In addition, for Windows resources:
- Ensure that WinRM HTTPS port 5986 is open on your resource to allow access from the Raxak Protect SaaS service.
- Windows resources must have Group policies configured as mentioned below:
1.Group Policy Path - Computer Configuration/Administrative
Templates/Windows Components/Windows Remote Management
(WinRM)/WinRM Client
Disallow Negotiate authentication => Should be set to Not Configured or Disabled
This Group Policy is required only during enrollment. If the policy is set to Enabled then it throws an error when creating a WinRM listener.
After enrollment, this policy can be configured as per Customer organization policy.
The three Group Policies below are required for enrollment, Check access, Scanning and Remediation.
1.Group Policy Path - Computer Configuration/Administrative
Templates/Windows Components/Windows Remote Management
(WinRM)/WinRM Service
Allow remote server management through WinRM => Should be set to Not Configured or Enabled
========================================
2.Group policy path- Computer Configuration to Policies\Administrative
Templates\Windows Components\Windows PowerShell
Turn on Script Execution => Not configured or Enable and select Allow local scripts and remote signed script
==========================================
3.Group Policy Path - Computer Configuration/Administrative
Templates/Windows Components/Windows Remote Shell
Allow Remote Shell Access => Should be set to Not Configured or Enabled
- For Console Access to the Raxak Protect Appliance
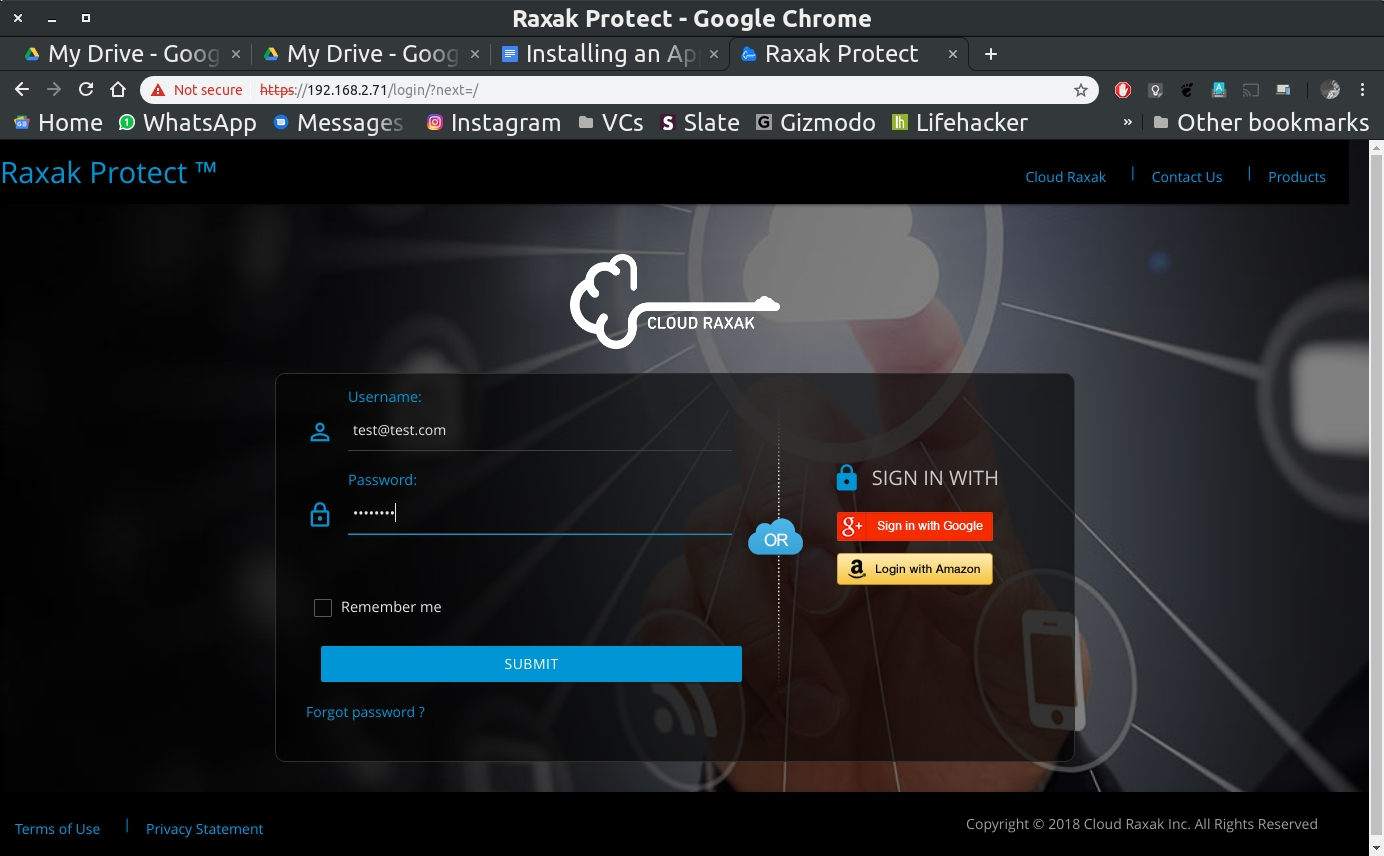
Console access to the Raxak Protect Appliance is via a standard browser (Chrome or Firefox) on any modern mobile or desktop computer. Note that access must be configured through any proxy[2] or other blocking mechanisms that may exist in your environment. Javascript must be enabled on your browser, and any ad-blocker that may be running may need to be disabled on the domain or IP address of the Appliance. If connectivity is successful, you should see a login screen that looks like this:
If you need help with setting up your environment to use the Cloud Raxak portals, please reach out to us at support@cloudraxak.com.
NOTE: Cloud Raxak requires that all Linux and Windows servers support the keys defined below. Failure to do so will result in the Raxak Protect appliance being unable to connect with the Linux or Windows server, even if the network connection is viable.
Cloud Raxak has determined that many systems are configured by default to only accept a single SSH key exchange (KEX) algorithm: diffie-hellman-group1-sha1
This key exchange algorithm is a legacy algorithm that has been since found to be vulnerable to attack and has been deprecated. Cloud Raxak highly recommends that the customer upgrade these legacy servers to ideally eliminate support for this protocol, and replace it with one of the more secure alternatives. For example, the Raxak Protect appliance is configured to offer the following KEX algorithm choices:
diffie-hellman-group14-sha1
diffie-hellman-group14-sha256
diffie-hellman-group16-sha512
diffie-hellman-group18-sha512
diffie-hellman-group-exchange-sha1
diffie-hellman-group-exchange-sha256
ecdh-sha2-nistp256
ecdh-sha2-nistp384
ecdh-sha2-nistp521
curve25519-sha256
The primary issue with diffie-hellman-group1-sha1 it is within the theoretical range of the so-called Logjam attack. In fact, OpenSSH does not enable it by default because it is weak. If it is not possible to disable this algorithm in the customer environment due to legacy compatibility reasons, Cloud Raxak recommends that the customer add one of the newer KEX algorithms to the sshd service along with the legacy algorithm.
According to the IETF:
This method uses [RFC7296] Oakley Group 2 (a 1024-bit MODP group) and SHA-1 [RFC3174]. Due to recent security concerns with SHA-1 [RFC6194] and with MODP groups with less than 2048 bits (see [LOGJAM] and [NIST-SP-800-131Ar1]), this method is considered insecure. This method is being moved from MUST to SHOULD NOT instead of MUST NOT only to allow a transition time to get off of it. There are many old implementations out there that may still need to use this key exchange, it should be removed from server implementations as quickly as possible.
For more information on the Logjam vulnerability, see: https://weakdh.org/ and https://blog.cloudflare.com/logjam-the-latest-tls-vulnerability-explained/
4. Enroll Resource Process
To enroll the resources on cloud raxak appliance we need to download the enrollment script from the appliance server for both windows and Linux and need to run that script on resources.
Follow the Getting Started: Raxak Protect Document for Downloading the script and Enrolling the Resource for both windows and Linux.
Enrollment script for Linux : RaxakProtectSetup.sh Enrollment script for Windows : RaxakProtectSetup.ps1
Here is the explanation for enrollment scripts step by step
Linux Resource Enroll process overview:
Note: The enrollment script must be run by root or by a privileged user via the sudo command. It must run under the bash shell, not sh
- Enrollment script creates a file (/var/log/raxak/enroll.log) for logging.If system doesn't allow you to create file then log file will be created under /tmp (/tmp/enroll.log)
- Either wget or curl should be installed on the system, otherwise the enrollment process will abort.
- If the /etc/hosts.allow file does not contain RaxakProtect appliance IP then it will update /etc/hosts.allow to include all RaxakProtect appliance IPs.
- It will download complete script from CloudRaxak appliance to /tmp/VMSetupV2.sh
- Check if any customized port is used for ssh connection in /etc/ssh/sshd_config then the same port number needs to be used in the enrollment script.If port number doesn’t match enrollment script will exit.
- Use ssh port for communications which is mentioned in /etc/ssh/sshd_config.
- Check if Python2 or Python3 is installed (Python 3 is preferred).Enrollment script will exit if Python2 or Python3 is not installed.
- Check connectivity between the resource being enrolled and the appliance.
- Check if Python2 or Python3 is installed (Python 3 is preferred). Enrollment script will exit if Python2 or Python3 is not installed.
- Take a backup of /etc/ssh/sshd_config - /etc/ssh/sshd_config.bak
- If AllowUsers is enabled in /etc/ssh/sshd_config then raxak user will be added to AllowUsers list.
- If AllowGroups is enabled in /etc/ssh/sshd_config then raxak user will be added to AllowGroups list.
- If PubKeyAuthentication is set to no, then it will add a User match block which will allow only the raxak user to use PubKeyAuthentication.
- Check if there is any syntax error in sshd config file.
- If there is no error in ssh syntax check then continue else revert all changes made in /etc/ssh/sshd_config using the backup file and exit the enrollment process.
- Restart ssh service after making changes in ssh config file.
- Create a new user with the name declared in the script. Default username is raxak ($username).
- Calling Test Connection api via wget or curl.
- Calling Generate Access Key api via wget or curl to get resource specific public key
- Create a password-less raxak user account and add it into the sudoers group.
- Allow raxak user to be able to run sudo without a password (since one does not exist)
- Ensure that the raxak user’s password expiry window is disabled so that its password (which doesn’t exist) never expires.
- Create a .ssh/authorized_keys file in raxak home dir to store the public key.
- If the authorized_keys file contains any old Publickey, then we replace the old key with a new key.
- Create a resource GUID for unique identification.
- Call API to enroll this resource.
Windows Resource Enroll process overview:
Prerequisite:
Before enrolling a windows server, please check if the specified Group policies are configured as mentioned above (Section 3).:
If you get 'Running scripts is disabled on this system' error when the running the Enrollment script via PowerShell, then run below commands to set the execution policy:
To set it via PowerShell:
Set-ExecutionPolicy RemoteSigned
Or to set it via Group Policy:
Navigate under Computer Configuration to Policies\Administrative Templates\Windows Components\Windows PowerShell
Configure Turn on Script Execution - Enable and select Allow local scripts and remote signed scripts
Note: The Enrollment Script must be run as an Administrator.
Steps:
- If no value is passed to the LogFile parameter then a log.txt file will be created at $env:USERPROFILE\AppData\Local\CloudRaxak\
- Check and exit enrollment process, if the server is a Domain Controller.
- Exit the enrollment process if Dot Net Version (4.5.1) or greater is not installed.
- Exit the enrollment process if PowerShell version is less than 4.0.
- If the server operating system is Microsoft Windows Server 2022, then check and exit the enrollment process if TLS 1.3 is enabled. Enrollment script will provide instruction on how to disable TLS 1.3.
- Start WinRM service if it is not running and set the startup type to automatic.
- Create HKLM:\SOFTWARE\CloudRaxak registry to store GUID.
- Enable TLS 1.2 if it is disabled.
- Check connectivity over port 443 from resource to Raxak Protect appliance.
- Create a WinRM HTTPS listener if required either using a Self-Signed certificate or using customers own Server Authentication certificate.
- Configure Prevent running First Run wizard to Enabled and Select Go directly to home page via registry. Group Policy Path - Computer Configuration/Administrative Templates/Windows Components/Internet Explorer
- Create an Inbound Firewall rule to allow Raxak Protect appliance IP via 5986 port only if the Firewall service is running.
- Call TestConnection API to check if port 5986 is opened/allowed.
- Call Generate Access Key API to get resource specific public key
- Configure WinRM and Enable PSRemoting
- Generate and Install Certificate using resource specific public key for authentication.
- Create a raxak user account and add it to the local Administrators group. If the raxak user account exists, we reset the raxak user account password. The password is randomly generated and not stored anywhere[3].
- Configure Desired State Configuration (PUSH mode)
- Create CloudRaxak eventlog and create Get-TargetResource & Set-TargetResource as Source for CloudRaxak Logs
- Disable Desired State Configuration scheduler if it exists.
- Call API to enroll this resource.
- Download DSC modules from Raxak Protect appliance which is required for Scanning and Remediation.
- Enable Desired State Configuration scheduler if it exists.
5.More Information
Security standards resources:
National Vulnerability Database
For more information, training, or assistance, please contact:
For white papers, case studies, and other product literature, please visit:
Last updated: February 2023 for Version 4.4+ © 2017-2023 Cloud Raxak, Inc. All Rights Reserved.

[1] As of this version, the cloud based service is hosted on https://www.cloudraxak.net . The IP address of the service is 52.53.166.52
[2] For setting a proxy on a WIndows computer, see for example: https://support.microsoft.com/en-us/windows/use-a-proxy-server-in-windows-03096c53-0554-4ffe-b6ab-8b1deee8dae1
[3] Note that if the raxak user’s password is ever changed, connectivity between the Raxak Protect appliance and the Windows resource will break and may have to be manually reconfigured.